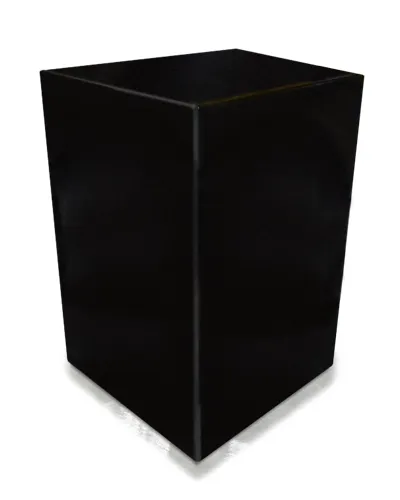
Kitchen magnet lazy suzanne
Made from Zintec, this counter top rotating display incorporates a lazy Suzanne mechanism and a gloss black powder coating finish. The end product is a discreet shop counter-top display to hold kitchen magnets.
Retail display solutions company
High-street retailers
Homewares
Project overview
We fabricate dozens of different retail display solutions every day at Constant, so when we were approached to manufacture a new table-top counter magnetic display it was a simple task. The display rotates, on a lazy Suzanne ball bearing mechanism, and the main body manufactured by us was a simple 1.5mm Zintec. Why Zintec? Well, not all metals are magnetic of course!
Services used

Design, cut and bend
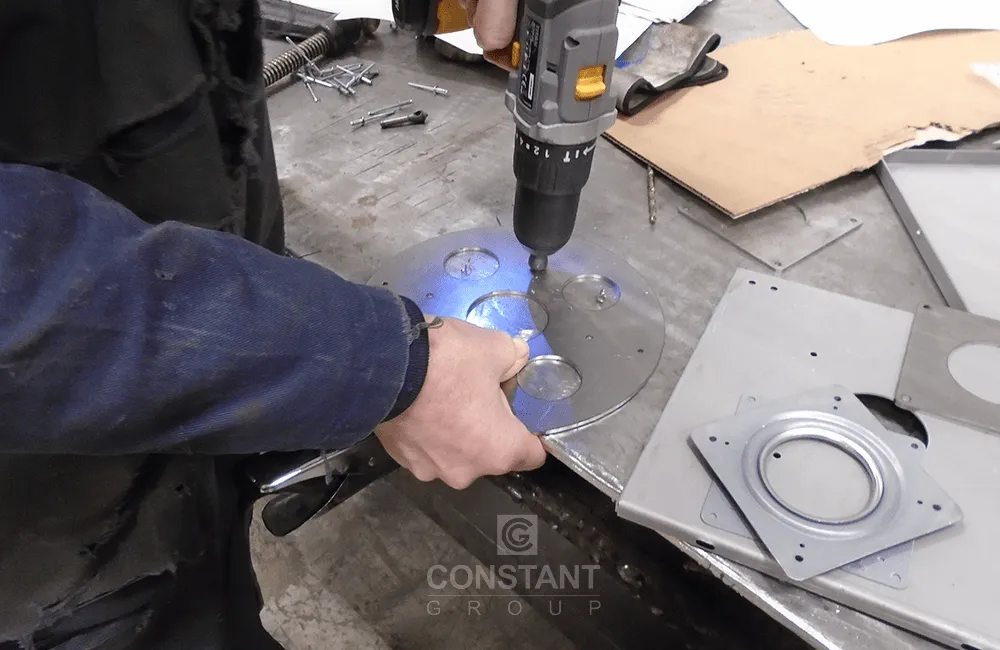
As the customer already had a provisional idea, our CAD design drew up their design idea, and prepared the drawings ready for our laser cutter and press brake CNC machines. The first step was for the large flat pattern boxes to be cut on our laser cutting machine. The magnet displays consist of three elements; main body, lazy Suzanne turntable and a base plate connecting the two.
Once cut, the flat pieces of metal made their way to the team of press brake operators. The team expertly bent the sides, and the base plate ready for fabrication.
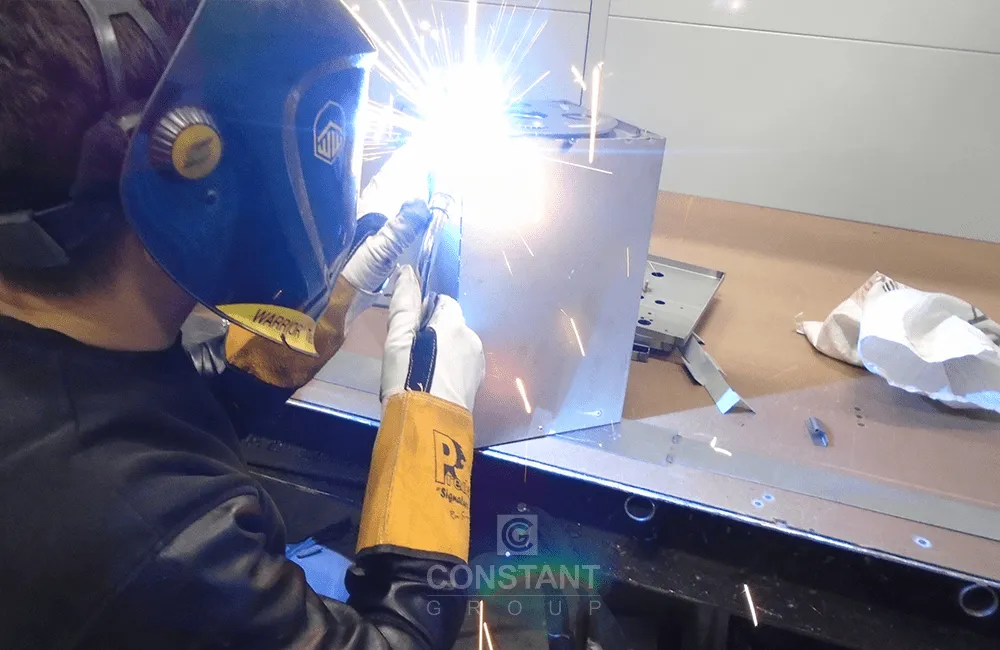
Fabrication
Once bent, the units were riveted to keep their shape before welding started. It is actually quicker to rivet the side panels into place versus tack welding, as well as more cost effective for the customer.
Our welders took the various pieces of the lazy Suzanne mechanism, as well as the base plate and unit’s body and got to work. First up was to build the base plate and mechanism into the main body of the unit.
Next the welders MIG welded the body down the edges to create the finished shape.
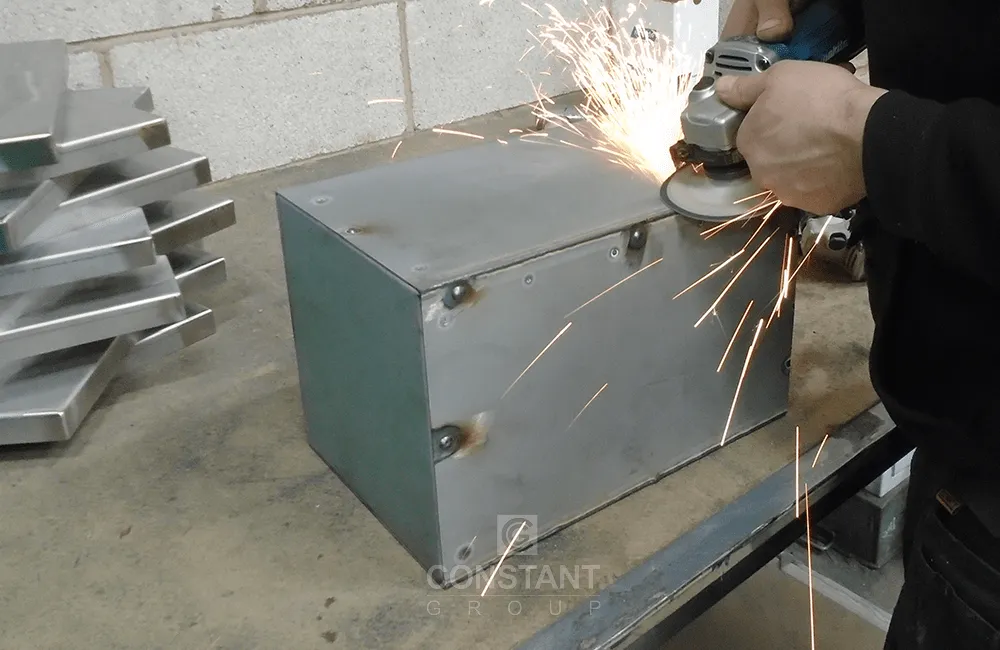
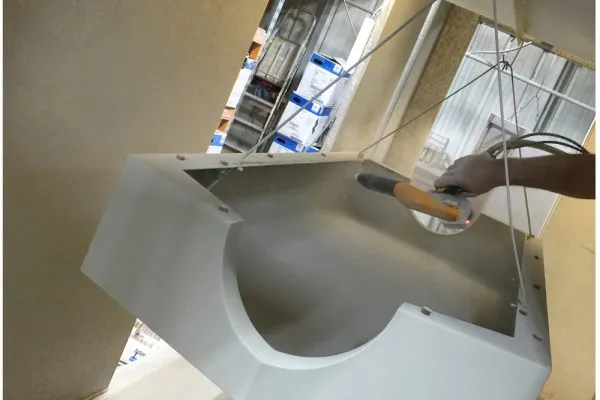
Grinding
Then it was off to the grinders and linishers. They grinded down the edges to smooth them and give a slightly rounded corner. They also removed the top of all the rivets, so they weren’t visible after powder coating.
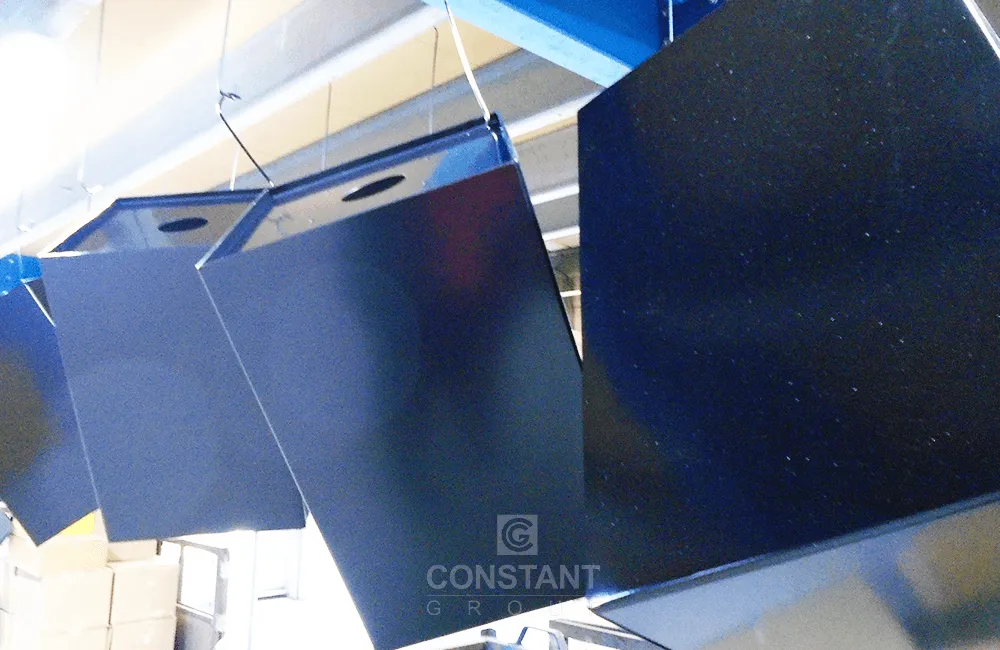
Powder coating
The units went into our on-site powder coating plant to get a coat of smooth gloss black finish. The black will make sure the unit looks like it is floating when it rotates, as well as not detract from the magnets that it’ll be holding.
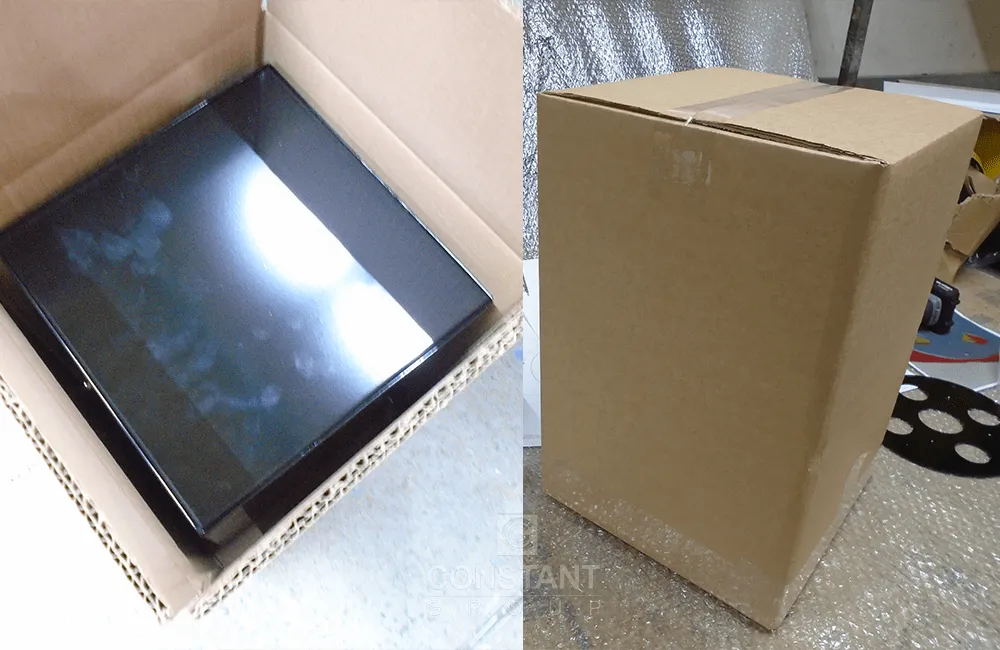
Assembly
Each unit when cooled from the powder coating line, is first tested to make sure it still rotates smoothly and it doesn’t catch or clip on the base.
They are then boxed up, and ready for delivery to the customer. Our customer doesn’t have to handle the product at all, as we boxed each as single units to be ready for the them to ship out when ordered.
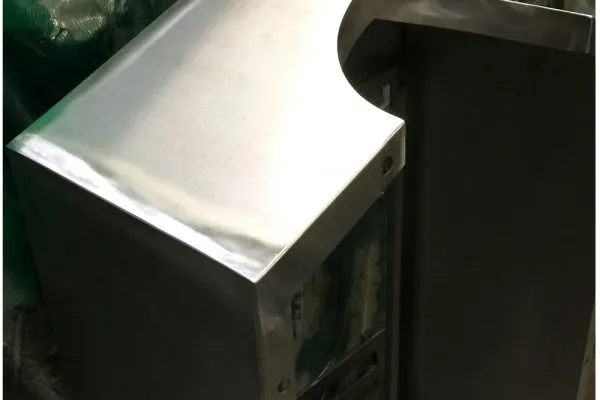
Finishing
Next the team get to work smoothing down the edges, grinding and linising to give the best surface for the end product and for the powder coating to adhere too.
The metal cabinets are now finished off, and polished down ready, to go to powder coating department.
Powder coating
As this cabinet has several captive nuts for assembly, we plug them with small ultra bake caps/plugs, in the industry known as ‘noggings’. This prevents any paint build up in the threads during the powder coating process.
The telecom cabinets are hung on the powder coating line and go through the pre-treatment line to remove any dust or grease on the metal, and then make their way through the drying ovens to be spot on for the paint process.